
Introduction to FPV Drone Building
FPV (First-Person View) drones are rapidly gaining popularity among hobbyists and creators across India. Building your drone is a rewarding experience that not only saves costs but also gives you complete control over its performance and features. If you’re a beginner wondering where to start, this guide will walk you through the essential steps to build your first FPV drone in India.
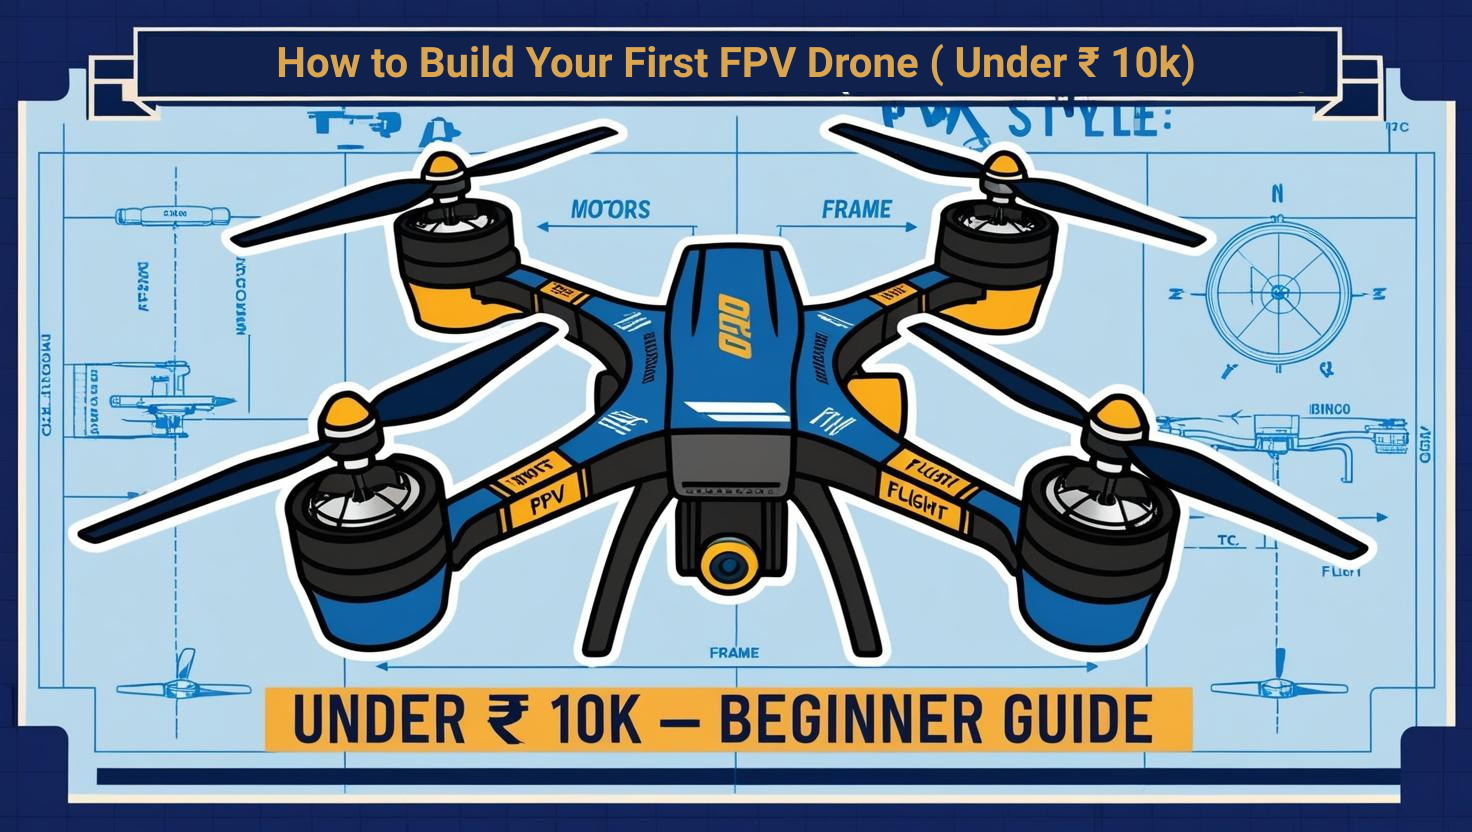
Basic Components Overview
Here are the core components you’ll need to build an FPV drone:
- Frame: The body that holds everything together (typically carbon fibre)
- Motors: Four brushless motors to power the quadcopter
- ESCs (Electronic Speed Controllers): Regulate power to motors
- Flight Controller: The brain of the drone
- Propellers: Blades that provide lift
- FPV Camera: Gives the pilot a real-time video feed
- Video Transmitter (VTX): Sends video from the camera to the goggles
- FPV Goggles: Let you see what your drone sees
- Battery (LiPo): Powers your drone
- Remote Transmitter & Receiver: For manual control
Recommended Beginner Setup (Under ₹10,000)
If you’re just getting started, it’s wise to choose budget components that still offer good performance. Here’s a sample beginner build:
- Frame: ZMR 250 5-inch carbon fibre frame (~₹1,200)
- Motors: 2205/2204 2300KV brushless motors CW+CCW(~₹2,600 for 4)
- ESC: 4-in-1 30A ESC (~₹2,299)
- Flight Controller: F4 or F7 board (~₹2,300)
- Camera: Ready to Sky 1000 TVL Camera (~₹900)
- VTX: Eachine or AKK brand (Best one in Link)(~₹1,000)
Total Estimated Cost: ₹9,498 (Excl. shipping)
TIP – Buy During Sales or With Offers to Save More.
Where to Buy Parts in India
Several online stores offer FPV gear for Indian buyers:
Always check for stock and verify compliance with DGCA guidelines before making a purchase. Importing parts from sites like Banggood or AliExpress may involve customs delays.
Safety and Legal Tips
- Register your drone with DigiSky: All drones weighing more than 250g must be registered with the DGCA.
- Do not fly in no-fly zones: Airports, military bases, etc.
- Fly below 120 meters (400 feet)
- Use propeller guards when practising
- Join our community: Learn safety protocols and share experiences
Always keep your drone within your line of sight, and avoid flying over people or public roads.
Final Assembly and Test Flight Steps
- Solder and Assemble: Mount motors, ESC, and flight controller on the frame. Solder connections securely.
- Flash Firmware: Use Betaflight to set up your flight controller.
- Calibrate Components: Calibrate the accelerometer, ESCs, and radio.
- Bind Transmitter: Connect your radio controller to the receiver.
- Dry Test: Spin motors without props to check rotation direction.
- Attach Props and Goggles: Fit propellers in the correct direction.
- Safety Check: Ensure all screws are tight and the battery is securely in place.
- Take Off: Start with LOS (line of sight) before FPV.
Final Thoughts
Building your first FPV drone is an exciting step into a fast-growing hobby. It can feel overwhelming, but once you learn the basics, the sky is no longer the limit. With this guide, you should have the confidence to start building your very first quad.
Looking for help or parts? Join India’s first community-powered FPV platform: FPV Drones India for gear, tips, and mentorship.
Stay tuned for our next guide on choosing the best FPV goggles for every budget!